
This section will cover how to work with those images. We'll talk about resizing, formatting, and adding special effects to make your publications stand out and look more attractive.
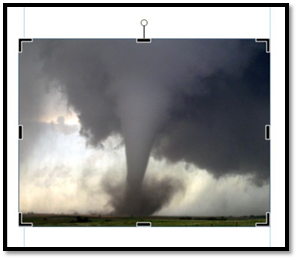
By far, the easiest way to insert images is by creating placeholders, then inserting them. Here is why. Whenever you insert a picture into a publication using the Pictures button on the ribbon, Publisher just slaps the picture on your publication, as shown below.
You then have to drag and drop the image to the location where you want it to appear, and also re-size it. It's much easier to just create placeholders, then insert images using the Graphics Manager.
That said, let's talk about how to work with images you insert using the Pictures button.
To move the image, select the image, then move your mouse to the icon displayed on the picture.

You can then drag the picture to the location where you want it to appear.
You can also right click on the mountain icon.
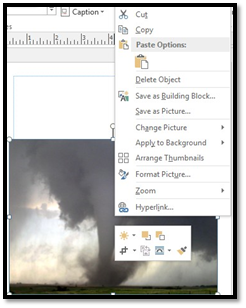
Using the context menu, you can cut, copy, and paste the image, save it as a building block, save it as a picture on your computer, change the picture, apply the picture as the background for your publication, arrange thumbnails, format the picture, zoom in or out on the picture, or add a hyperlink – or a link to a web address.
You can also use the tools in the small box that appears to make color corrections, crop, wrap text, and other things.
To re-size an image, start out by selecting it.
When you do, the Picture Tools Format tab will open on the ribbon.
Go to the size group.
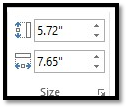
Enter the measurements you want for the picture.
You can also re-size images by dragging the handles on the bounding box.
When you crop a picture, you cut away the outer edge of the picture to create a new version.
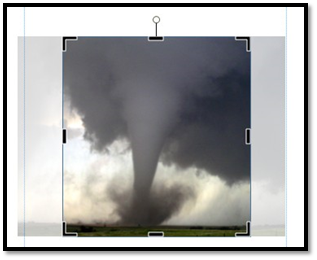
Let's crop the picture below.
Double-click on the image, then go to Crop under the Picture Tools Format tab, located in the Crop group.
Click the button and select Crop from the drop-down menu.
You'll now see crop marks around your image. These should look familiar to you from an earlier section.
Click and drag your mouse on any of these marks. Click and drag inward on the image until you have cropped away the area you want to get rid of in the image.
The area you're cropping away is shaded.
Click outside of the image to remove the cropped area.
You can easily adjust the color of any image you place in your publications.
To do this, double-click on the image.
You'll then see the Picture Tools Format Tab. Click the Re-color button:
Choose the color effect you want to apply to your image.
You can also adjust and modify the colors in your image through color correction. Once again, go to the Picture Tools Format tab by double clicking your image.
Click the Corrections button.
Choose a color correction.
Choose the artistic effect that you want to apply to your image.
It sometimes look nice to add a border to images in your publication. To do this, double-click the image, then go to the Picture Tools Format tab.
Select Picture Border from the Picture Styles group by clicking on the downward arrow.
As you can see, you can choose what color border you want.
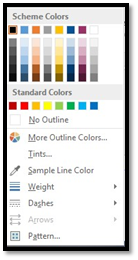
The color you choose is called your outline color.
You can also choose to add a tint to your outline color by selecting Tints from the drop-down menu.
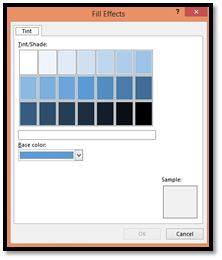
Select the tint you want and click the OK button.
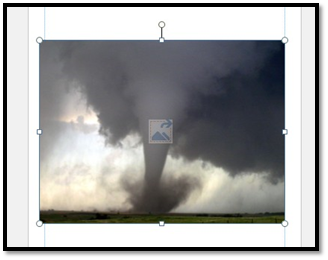
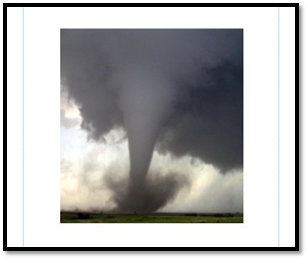
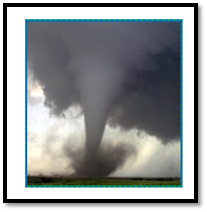
You can also use a color that you have in your publication as the border color. For example, let's use our image of the tornado. Let's say we want the color of the sky to be our border color.
Choose Sample Line Color from the drop-down menu.
Your mouse pointer turns into an eyedropper.
Click once on the color you want to use. We're going to click on the sky in our image.
Publisher samples the color then uses it as your outline color.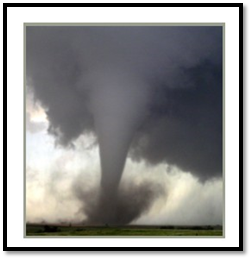
Weight refers to the thickness of your border. By clicking Weight in the drop-down menu, you can make your border thicker or thinner. If you choose Dashes from the drop-down menu, you can make the border a dotted line instead of solid.
You can also use a pattern as your border.
Select Pattern from the drop-down menu.
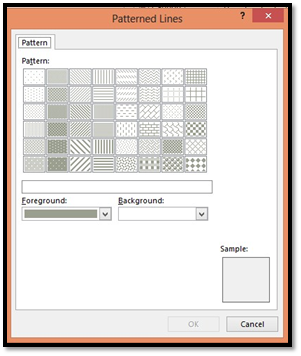
First, select the pattern you want to use from the Pattern section.
Patterns have two colors. The background color, then the color of the actual pattern – or the foreground color.
Select the two colors you want.
Just to give you a better idea of how patterns work, we've selected two colors that will stand out when applied to the border of our image.

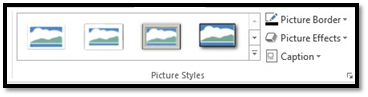
Whenever a picture is inserted or selected, the Format tab will automatically appear as a tab in the Ribbon. It provides you with a few of the most commonly used features available in image editing software like Photoshop. You can change the contrast, add artistic effects, remove backgrounds, or crop them. To view the Format tab, select a picture by double-clicking on it.
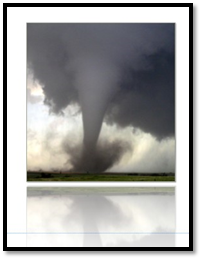
In the center of this ribbon, you'll see styles you can add to pictures. You can add frames, drop shadows, reflections, etc.
You can also add your own formatting to your images. To add formatting to your picture, you can click the Picture Border, Picture Effects, or Picture Layout, as shown below. These are located in the Picture Styles group under the Format tab.

Below, we've added a shadow and a reflection to our image.
When you're creating publications with images and text, it's always helpful to add captions to your images.
Adding captions to your images in Publisher is much easier than doing it in a program such as Word.
Double-click on your image to bring up the Picture Tools Format ribbon.
Click on the drop-down arrow beside Caption in the Picture Styles group.
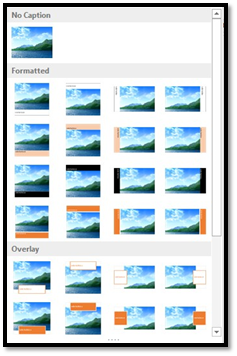
Choose the formatting you want for your caption.